Author: Noval Agung Prayogo
And it costs $0, great right?!
Handling inbound mail
Say that my domain is managed via Cloudflare, and I use their email routing feature to re-route any incoming email that was originally directed to [email protected], to [email protected].
To enable the mail routing, navigate to your Cloudflare domain page, go to Email → Email Routing, then toggle on the functionality.
Next, create your desired custom email address (in this post I’ll be using [email protected]), select Send to an email as the action, and set [email protected] as the destination.
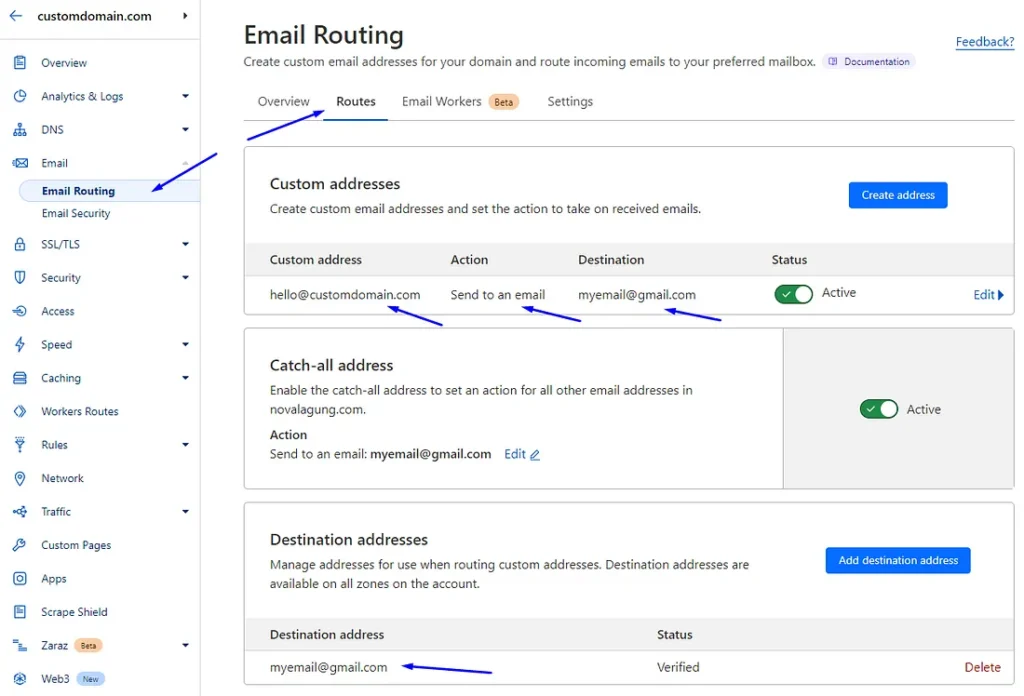
Thats it! now test it by sending one or two mail(s) to [email protected]. Cloudflare shall handle the rerouting process and eventually, you will receive it at [email protected].
Ok, let’s move forward to the next step, which is configuring the outbound.
Handling outbound mail
At this point, even though you are able to retrieve any emails through [email protected] on your [email protected], you will not be able to reply to them using the custom domain email.
You can send/reply emails only by using [email protected]. And I’m pretty sure that is not what you want right? So let’s configure the outbound.
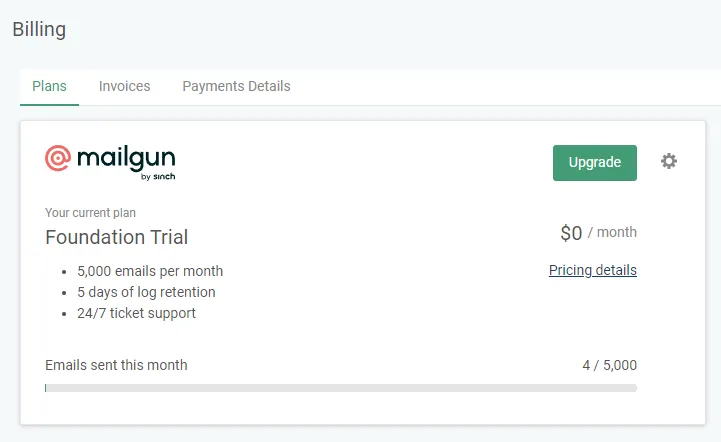
I’ll use Mailgun for managing the outbound mail. They provide a free pricing plan that I think should be enough for personal usage.
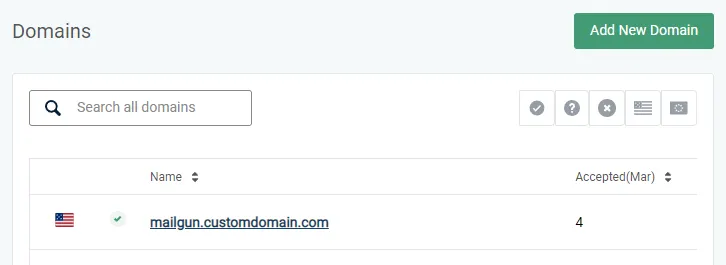
Ok, let’s get to the point. Go to your mailgun account, navigate to Sending menu, then register a domain.
Register your customdomain.com or subdomain there (in this post I’m using mailgun.customdomain.com).
Next, you shall see several DNS records information that needs to be added to the domain provider.
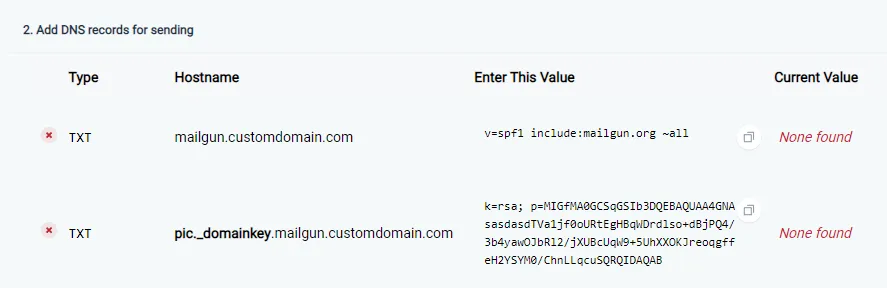
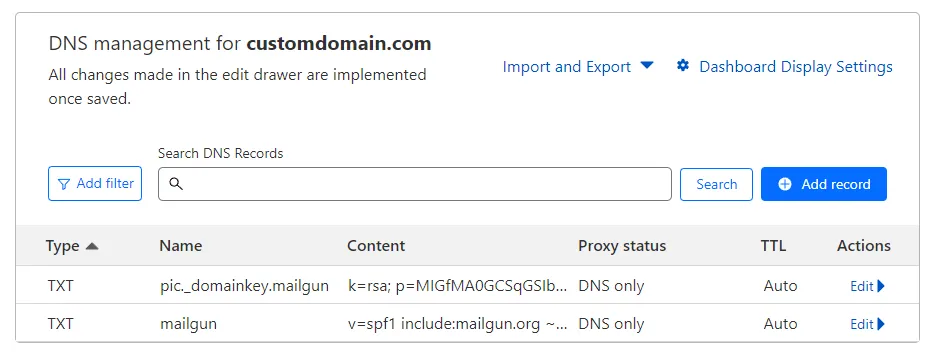
Add those TXT record. On Cloudflare’s end, the result will be pretty much like this image below:
Wait for a few minutes until the DNS propagated properly. You can click Verify DNS settings on Mailgun to see/refresh the status.
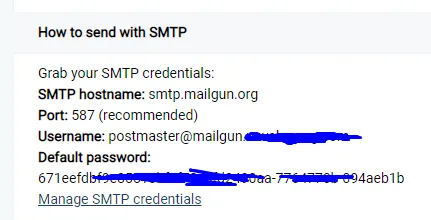
On Mailgun, once the DNS records status are verified, go to the Sending → Overview menu, the SMTP credentials of our Mailgun sender email are visible there.
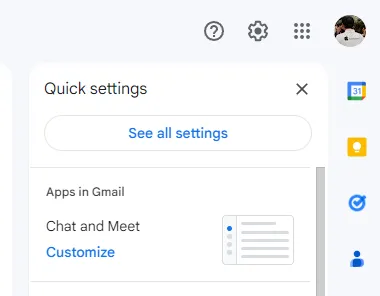
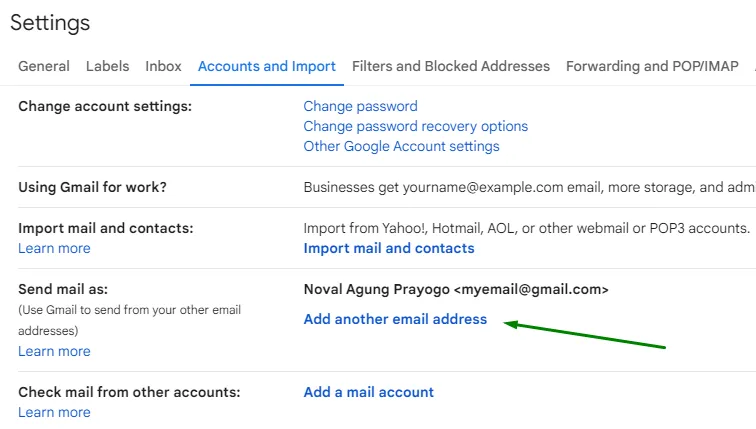
That’s all on the Mailgun side, now open up the Gmail inbox, and ensure to log in using the correct Gmail account (mine is [email protected]). Click the gear icon, then See all settings.
Click Accounts and Import tab, click Add another email address on the Send mail as section.
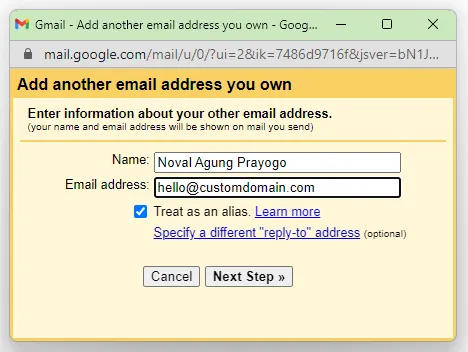
Specify the name of the email address and the custom domain email ([email protected]). The name field is essential because it will be used as the email name (when you reply/send emails using your custom domain email).
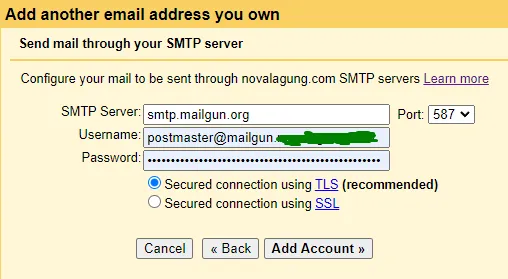
Click Next Step , then fill out the SMTP details (the one you see in Mailgun), and click Add Account button. There will be an OTP verification that arrived in your Gmail inbox ([email protected]).
Once it’s done, make your custom domain email the default sender, and check the option that says Reply from the same address.
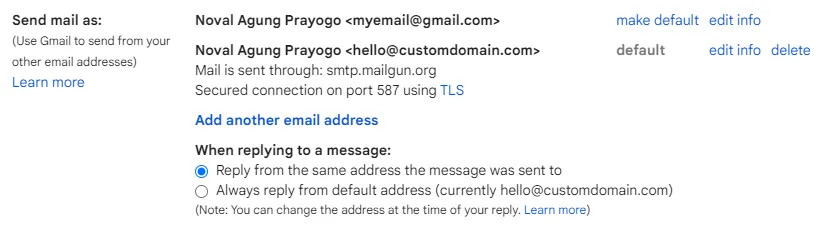
That’s it!
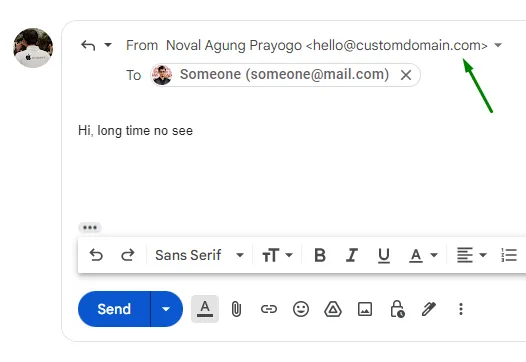
Test it out by writing an email to someone. On the from the field you should be able to select the sender.
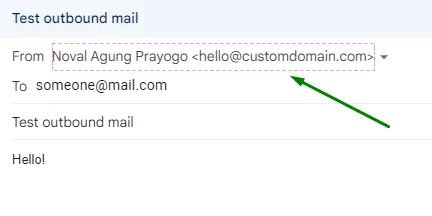
And that email will be used as the default sender when replying emails (that is directed to [email protected]).